Monday, June 16, 2014

DIY KeyChain Holder

Growing up, I always had a table right in front of the door when I entered into the house, and I would put my keys on it. At my old apartment, the kitchen was right next to the door. Now, I have nothing near my door! So I need a keychain holder of some sorts. For my first try, I placed some command hooks on my command center. It was nice, but it was kind of far from the door (I know its only two steps, but thats really far when you are carrying a lot of stuff). 


Then, I started thinking about what I really wanted. I knew I needed something to hold my keys, but I really didn't need it to hold much else because I had the command center right around the corner. I went to Michael's for some inspiration. I found a wooden plaque for about $1.00 and I picked up some gold hooks that are perfect for hanging keys for around $1.50. I knew I had some pretty acrylic paint and a picture frame hanger set at home so nothing else was needed. This meant a grand total of $3.00 for my keychain holder! 

Next thing I had to do was paint and build it!
Here are my supplies:

Acrylic Paint
Wooden Plaque
Hooks (Could use Command Hooks instead)
Blue Painter's Tape
Sawtooth Hanger with nails
Hammer


I first began by painting a white base coat. I put two coats down since I wanted white in my pattern. 


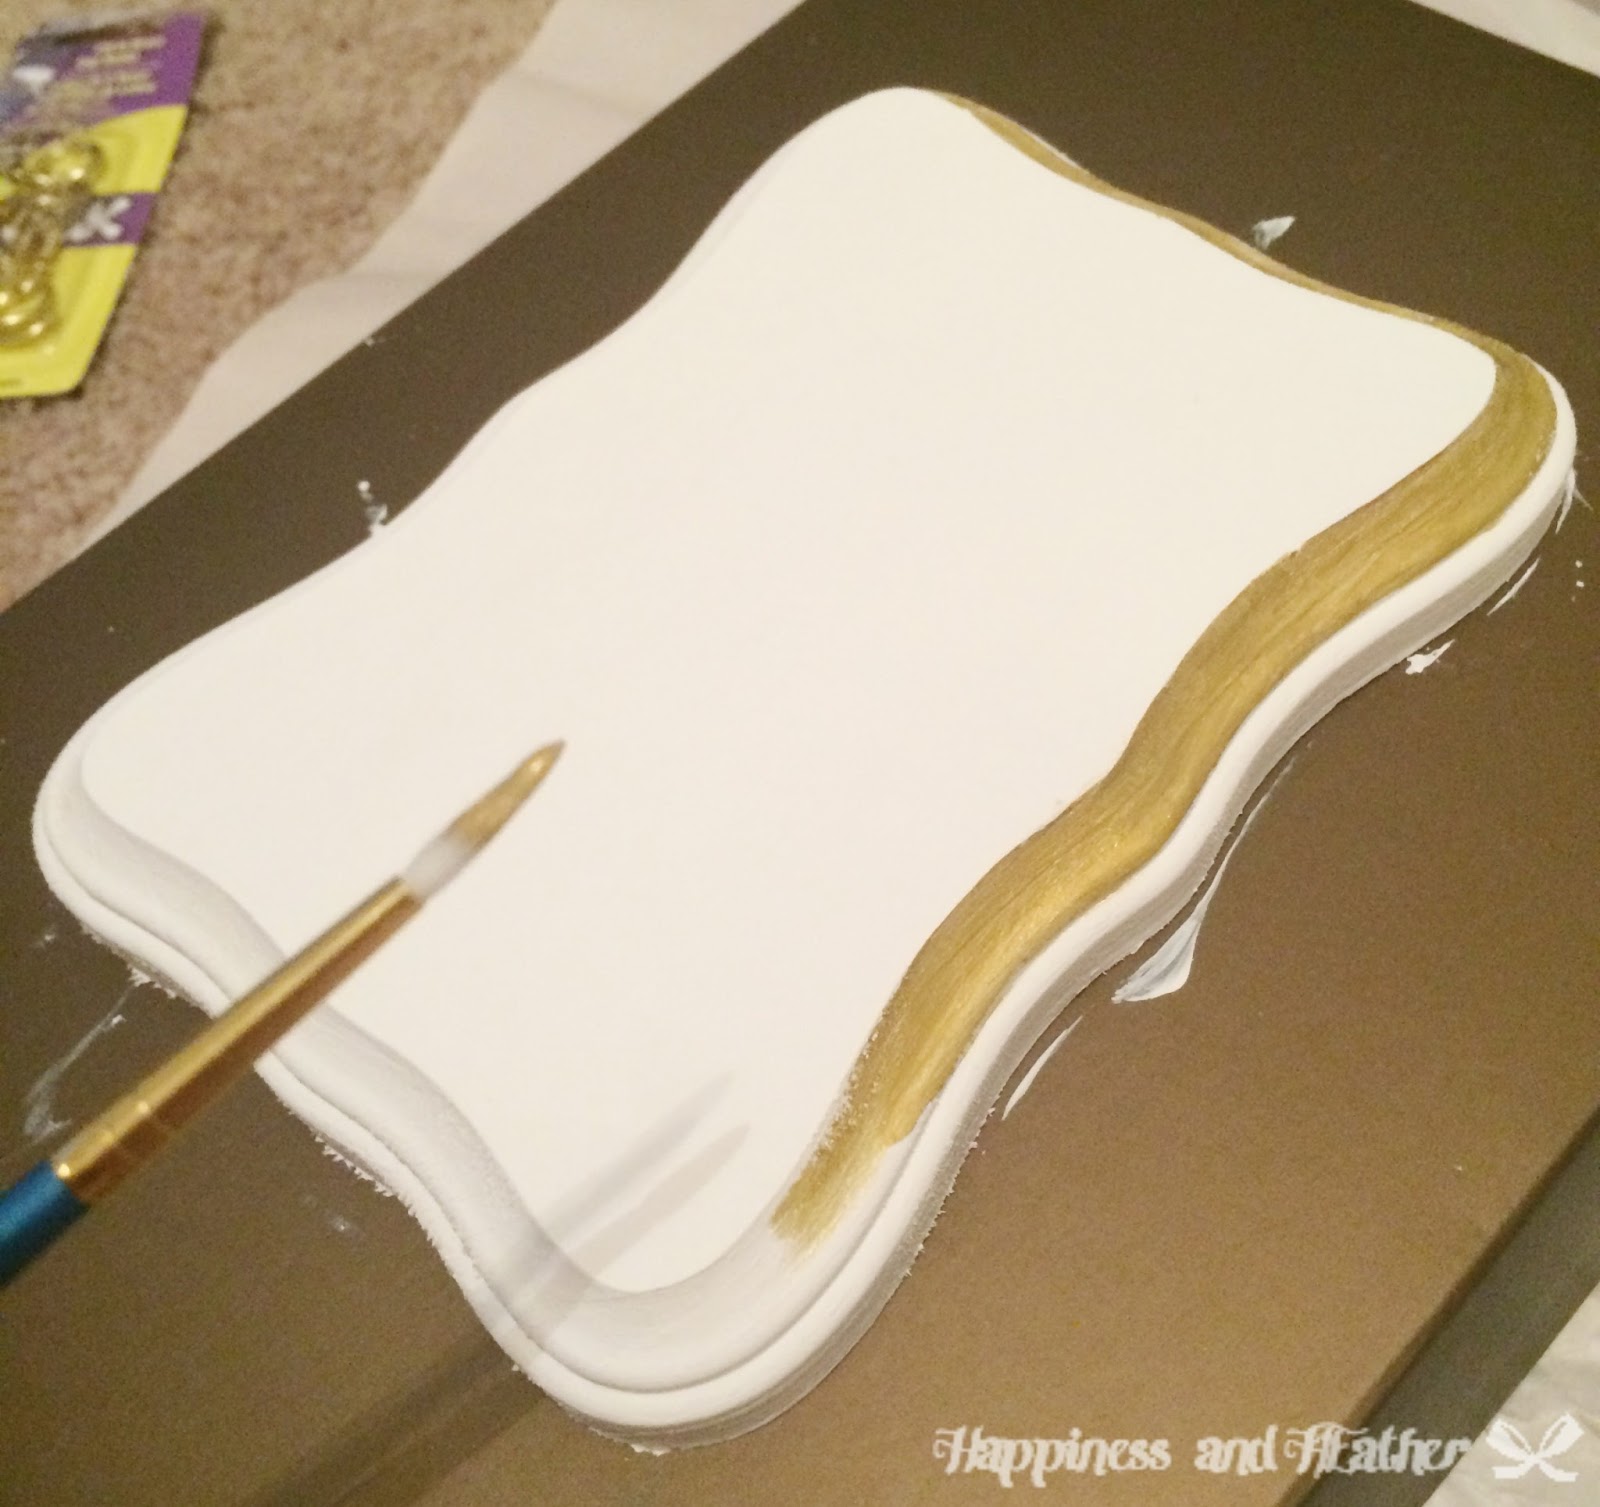
Then I painted the border gold. Who doesn't love a little gold?


Then I created the chevron pattern with my blue painters tape. Press down firmly on all edges! I forgot to do that and the paint bled through!


Ewwww paint bleed. I had to clean this up. Not. Fun. 


I attached a Sawtooth Hanger to the back so I could hang it. When I first started hanging stuff, I went to my local Home Depot and bought a picture hanging kit (like the one found here). It is AWESOME. It has all of the basics that I need, including the sawtooth hanger.


Then, I attached the hooks. If you are like me and you need a little help, take a nail and hammer and start a hole. Then, you just screw them in by hand. I chose to do three. Three just sounded like a good number.


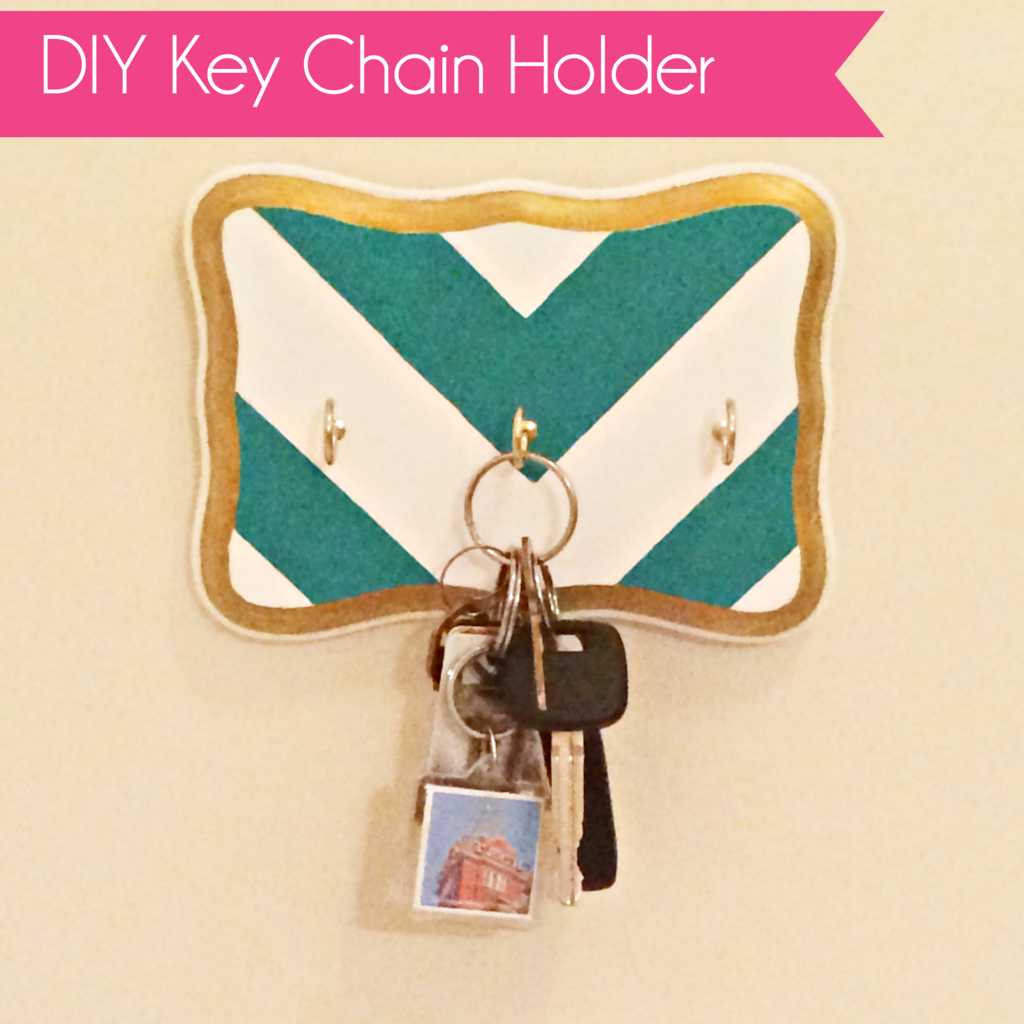
All that was left to do was to hang it up! Doesn't it look wonderful?


It is just so girly and perfect. I love it so much and I can't believe I only spent $3 for all of it!


Image Map

Tuesday, June 10, 2014

Decorating Your Clear Organizers

I grew up with this one rule about cleaning "If I can't see it, its clean". And this applies to a lot of things. Can't see dust? Its clean! Can't see the food on a plate? Its clean! (But not sanitized) Can't see whatever you just threw in that drawer? Its clean! I had a big problem in college with clear organizers because I couldn't make them perfect junk drawers. You could see everything you had placed in it and it really bugged me! So I decided to hide everything in my clear, plastic drawers. I found this post on Pinterest, and did what it said. I was able to create these cute plastic drawers! 


I did it with a couple of other plastic drawers in my closet, but the one above is my pride and joy. Once I move to my new place, I think I'm going to apply some labels and clean out the drawers a little better.


Here are the steps to create a cover for your plastic drawers. Sorry there aren't any pictures!

Materials Required:
Scissors
Pencil
ModPodge
Paper (I used cute scrapbook pages)
Paintbrush for the ModPodge

Step 1: Clean out the Plastic Drawers! 
Remove the plastic drawers from the base and vacuum out all of the dust. Make it really clean!

Step 2: Measure out where to cut on the drawers
Just stick the paper in and using a pencil, draw the lines on where to cut. If your drawer is funny shaped, try to cut so it will fit. 

Step 3: Apply ModPodge to the drawer.
Get it nice and thick!

Step 4: Place the paper on top of the glue
Put the bottom of the paper on first and then smooth the paper up to the top of the drawer to get rid of all of the bubbles. 

Step 5: Place another layer of ModPodge on top! 
This will give a good solid cover.

Step 6: Let it dry
Let it dry for a good long time.

Step 7: Place it back into the base
Put it back in and start storing! 

Image Map


You may also be interested in:

Glass Bottle Makeover
Kate Spade-esk Champagne Sign
DIY Key Chain Holder
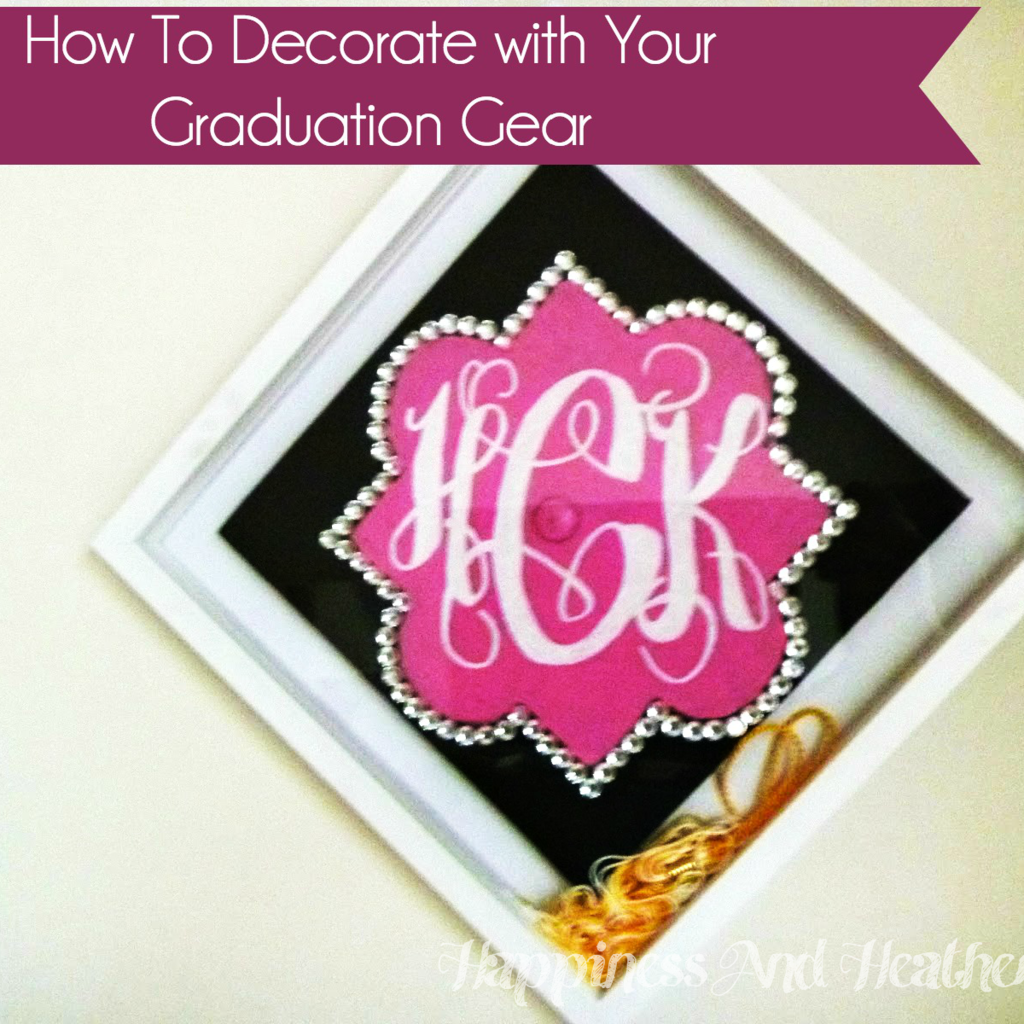
How To Decorate With Your Graduation Gear
Related Posts Plugin for WordPress, Blogger...