*Please Note: This post has been imported from my previous blog, Organized Magnolia*
Back in college, all of the sorority girls would paint their formal dates a cooler. Its a really great idea, if you A) really know the guy or B) like to paint and craft. A lot of girls actually hated painting the coolers because it took so much time and effort for something that was probably going to chip off in a day. I, however, have figured out the way to make paint stick to coolers. It takes some commitment and a couple of days. BUT it sticks!
I have painted three coolers with this method and every single one has the paint still on it with little to no chips. Here are a couple of images from the coolers I did before:
So after seeing all of this, my mom decided I get to make my grandfather's birthday present this year. Mind you, his birthday was in the middle of February, but since this will be intended for football season, I don't think he will mind waiting.
My list of supplies:
Modpodge
Polyurethren (MinWax)
Acrylic Paint
White Spray Paint
Brushes
Painter's Tape
Sharpies
Paint Pens
The first step is to take off any labels that are on the cooler. Then, use the painter's tape and tape off any spots you don't want to be covered with spray paint. Here is my grandfather's cooler with the handles and wheels covered. I didn't want to hassle with try to paint those areas.
Next, I spray it with the spray paint. Make sure it is completely white. I don't want to be able to see any color (in my case navy) peeking out. This is kind of like priming your wall when there is a darker color underneath it. It makes a HUGE difference.
After you let that dry, its time to paint! Depending on how detailed you want it to be and what you are doing to it, this can take a couple of days. First start with sketching what you want with a pencil. Don't use a mechanical pencil because they don't work well with shading or light traces. And they can pick off the white paint. If you can't draw very well, you can always try a tracing method. KariAnne from Thistlewood Farms has a wonderful tutorial on how she traced a monogram onto fabric. You can use the same method for tracing onto a cooler. (Find it
here) Here are some work in progress images:
*My grandfather is an alumna of the University of Mississippi*
A really nice tip that I have picked up is using sharpies for outlining and paint pens for writing. Sharpie has actually just come out with a paint pen! I really like it. It doesn't clot like normal paint pens do. I was able to outline the below fairly quickly and easily.
After you are done with the painting, put a layer of Modpodge on it. I buy the shiny modpodge because I like the way it looks. Lots of people prefer the matte version though. I normally put a couple of layers on because it makes me feel better, but you should be okay with just one or two.
Then, I put a layer of Min Wax on it. Make sure to coat it really well with this layer, but not too much because it has a yellow tint to it (aka white becomes cream if its too thick). This is the waterproof seal that makes sure it doesn't flake or peel off EVER. I have made three coolers with this method over two years ago and the boys still say it hasn't chipped. Let this dry for a really long time (about a day). Note: when using Min Wax, the brush can't be cleaned with normal soap and water like acrylic paints. You need to use mineral salts to clean it. Or if you are really lazy like me, buy the cheapest brush at The Home Depot, and throw it away once you are done. Go buy another when you need it. They are like $1. You can freeze the brush in the freezer in between coats!
So after you do that, feel the cooler. Does it feel sticky? If it does, add another layer of Modpodge! If not, its ready! I've been interested in trying this with ModPodge Outdoor. I just discovered it, but didn't have time to try it out. Maybe on my next cooler?
Happy Crafting!
You Might Also Be Interested In:
 |
| Decorate With Your Graduation Gear |
|
 |
| Kate Spade-Esk Champagne Sign |
|
 |
| Basics of DIY Blog Designing |
|
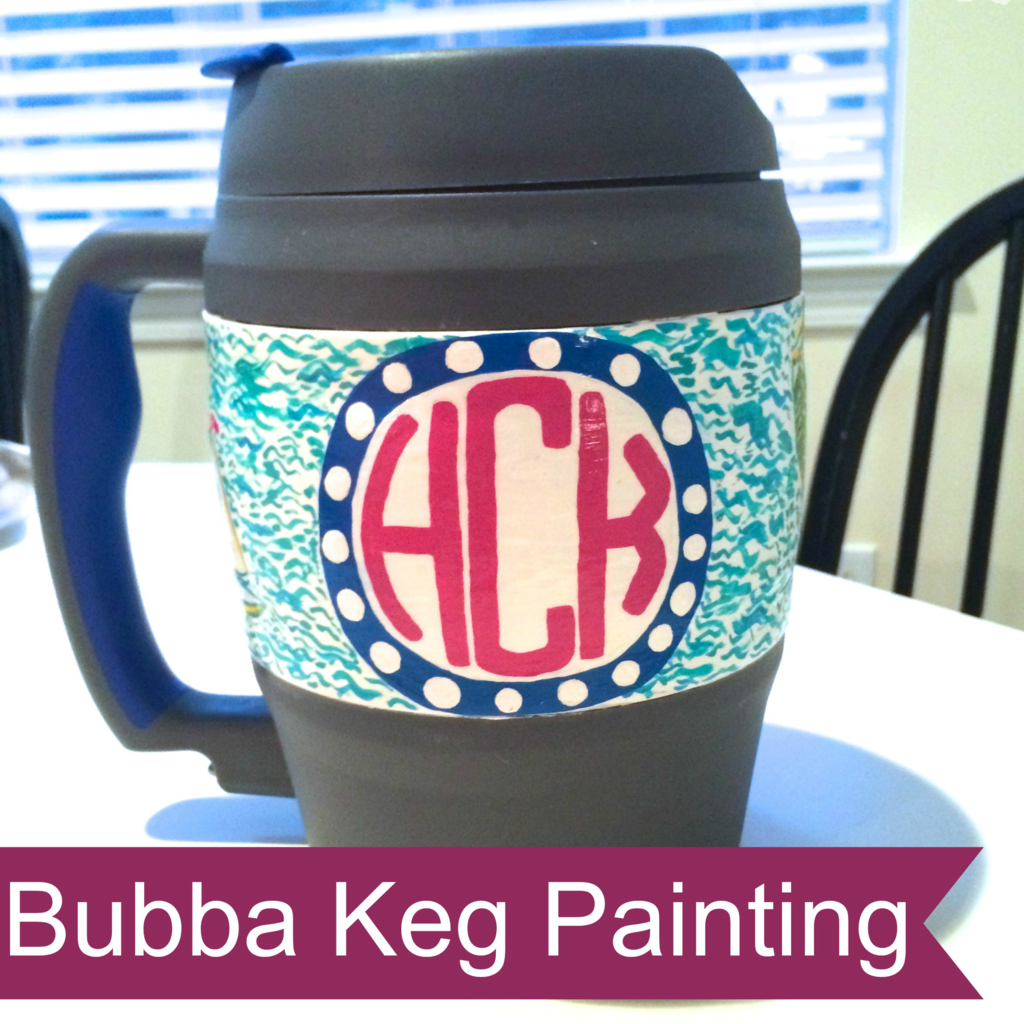 |
| Bubba Keg Painting |
|


